Moving and Setting Up Your Arcade Machine
Once you have received your Extreme Home Arcades machine from the freight carrier, the next step is to get your machine safely inside your house, apartment, residence or in some cases business.
Some of the machines are quite large and heavy (Megacade, Classic, Stealth, Pedestal, etc.) Please do not try and move these machines by yourself. It is best to get a minimum of 2 or 3 friends to help you. This will make the process easier, safer and will ensure the machine does not get damaged in the process. Another common strategy is to hire a professional moving company to move the machine for you. The benefits of this is that most moving companies are insured in case the machine is dropped or damage happens to it when being moved.
Here are the general dimensions and weights for the machines:
- MegaCade
- 4-Player: 48” X 38” D x 72” H, 265 pounds
- Classic and Stealth
- 2-Player Single Piece: 30.5” W x 34” D x 72” H, 215 pounds
- 2-Player Two-Piece: 36” W x 38” D x 72” H, 230 pounds
- 4-Player: 48” W x 38” D x 72” H, 245 pounds
- Pedestal
- 2-Player: 36” W x 28” D x 39” H, 80 pounds
- 4-Player: 48” W x 29” D x 39” H, 95 pounds
- Cocktail Table
- 2-Player: 30” W x 34” D x 31” H, 225 pounds
Some of the machines will not fit through a standard 34” doorway without removing the joystick/control panel. This section will help you do that.
Removing and Reattaching the Joystick/Control Panel to Move Your Arcade Machine Through Doors
If you have a 4-player machine or a large 2-player machine you may need to remove the joystick/control panel to get your machine through a 34” doorway. This can be done in 10-15 minutes. In addition to these instructions, please see the video: Remove Joystick Panel from Megacade to Fit Through Standard doorway – Extreme Home Arcades.
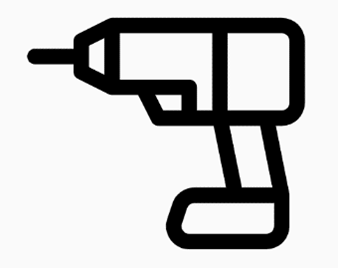
Note: A cordless drill with a Phillips-head screwdriver will make the process of removing your joystick/control panel easier and faster.
Also, take pictures of everything before you move it so you put it back EXACTLY the way you found it. This cannot be overstated.
1. Remove 4-Screws in Your Main Volume Control Under Your Joystick/Control Panel.
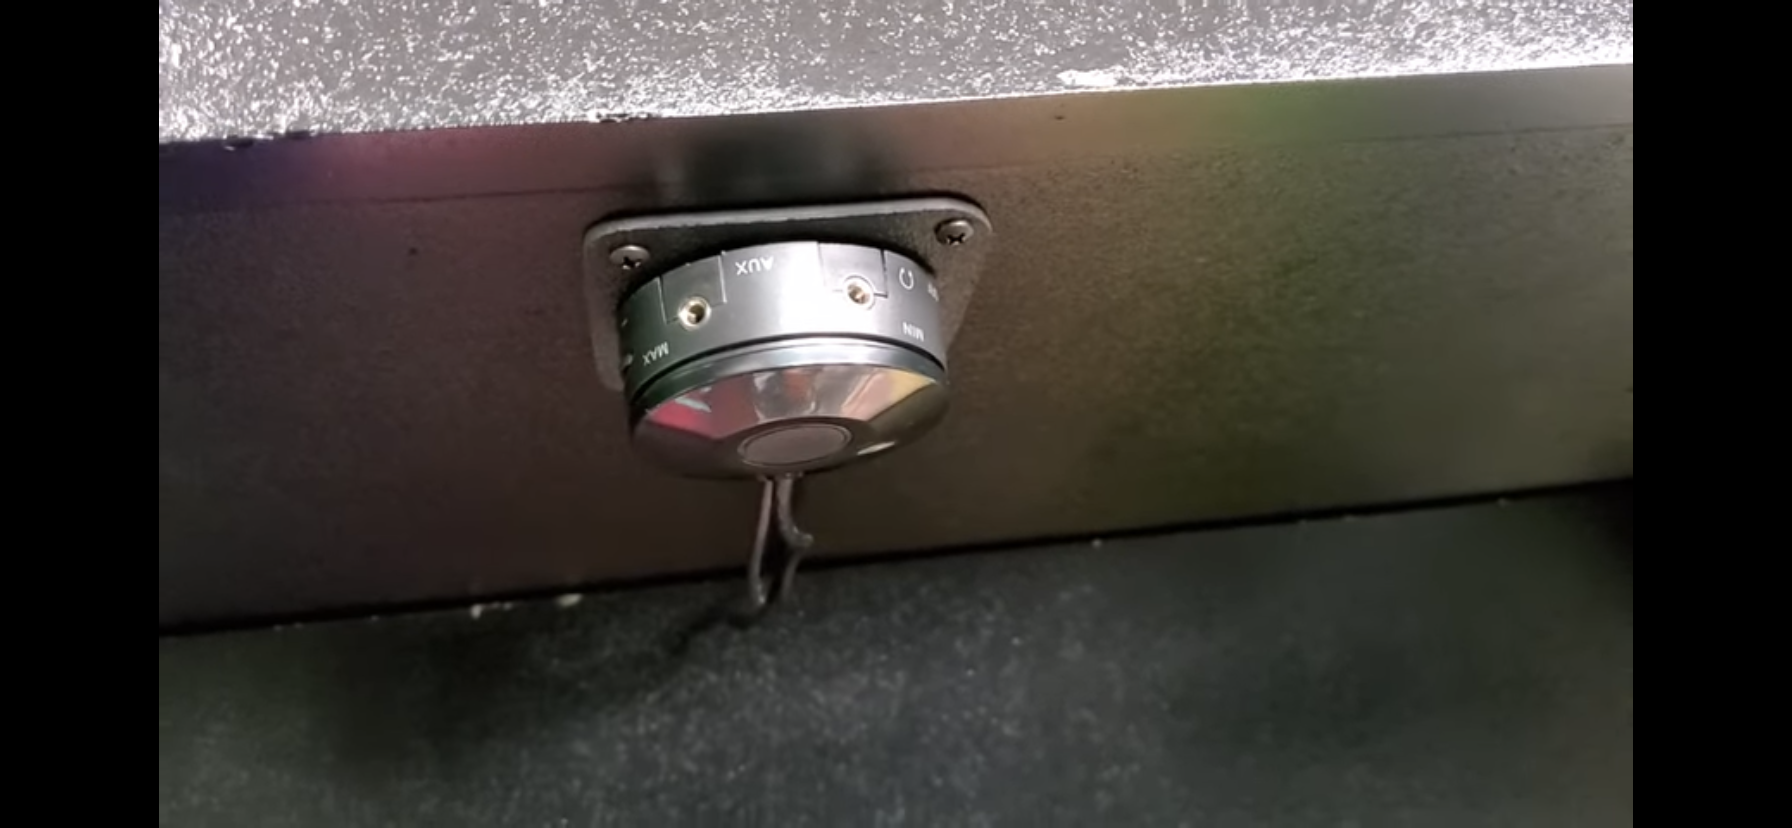
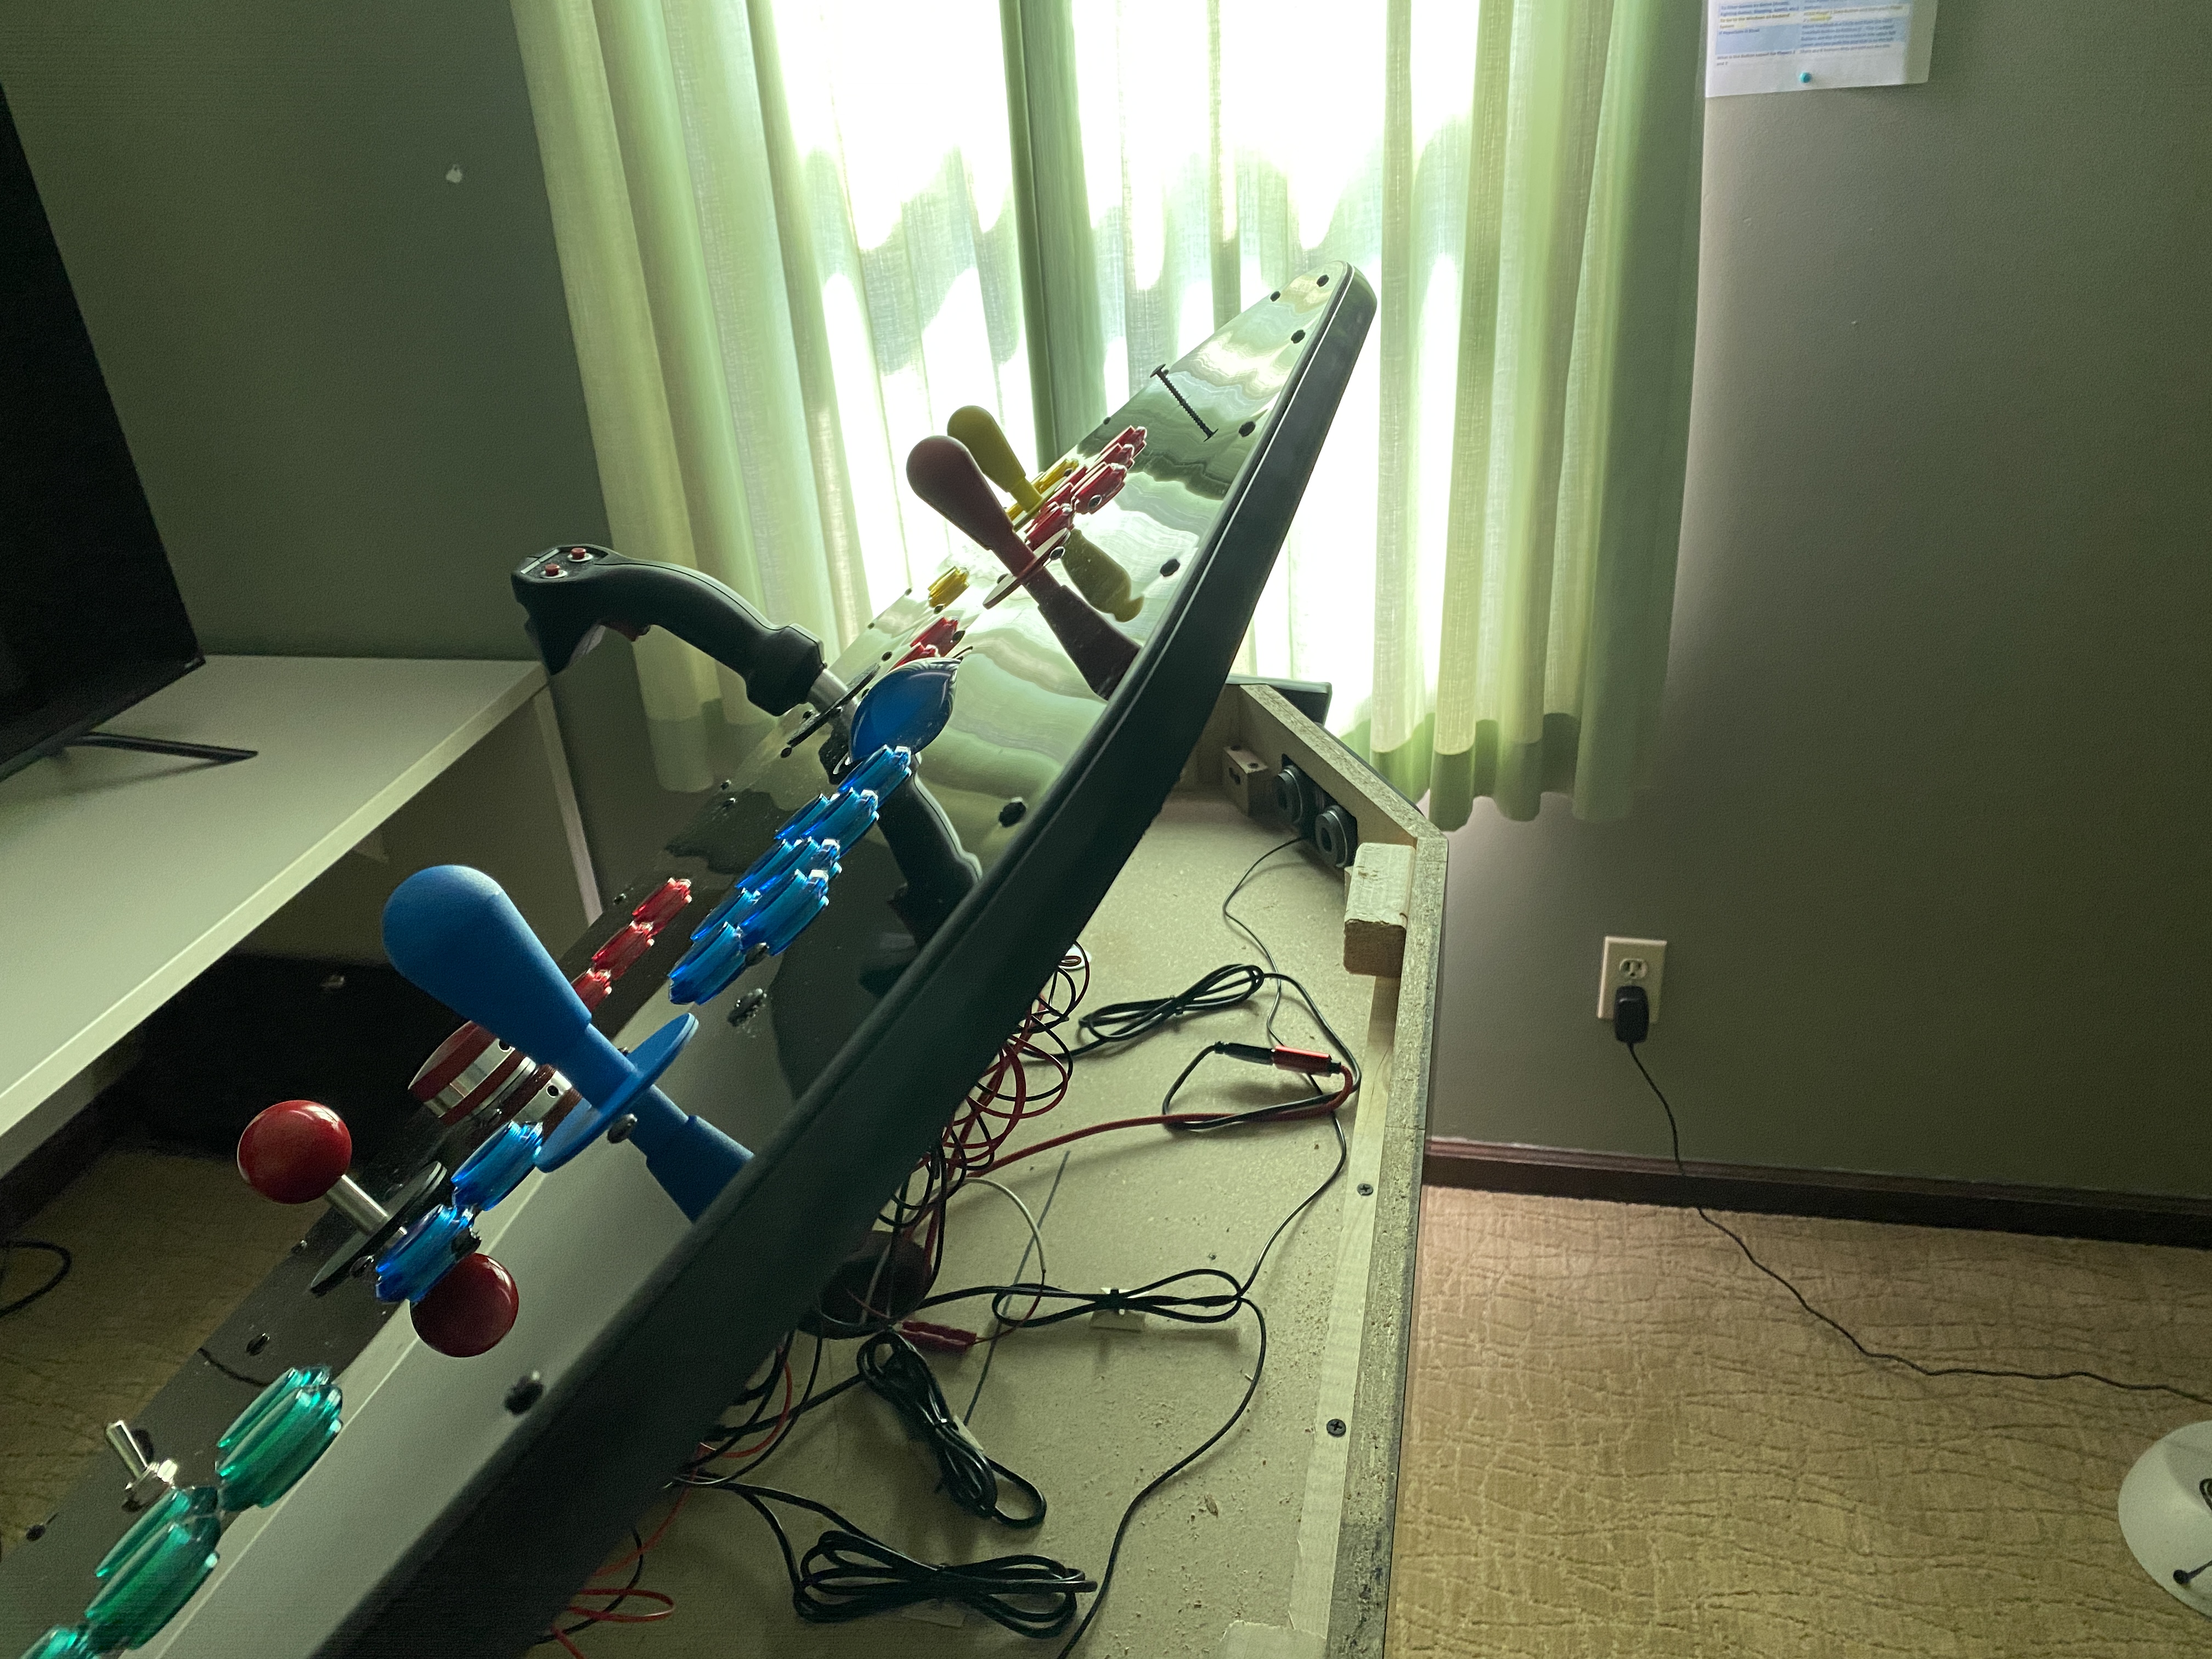
The Main Volume Control on all uprights and pedestals is located UNDER the joystick/control panel (see photo). Look UNDER your joystick/control panel and you should see it glowing BLUE when your machine is turned on. Unscrew the 4-screws holding the Main Volume Control in place and let it gently hang down from the cabinet.
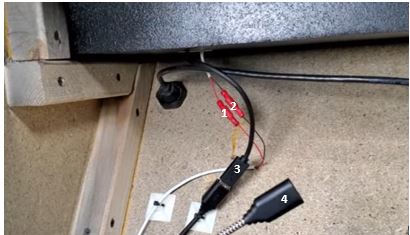
2. For Uprights Only – Disconnect Cables From the Joystick/Control Panel
Remove the lower back door on your machine. Carefully disconnect all cables coming out of the back of your joystick/control panel (looking inside the back of your machine) – see photo. Note: the exact number of cables can depend on the configuration of your machine. These are all quick disconnect cables. Take a picture for reference. You will plug all these cables back in when you re-install the joystick/control panel back on your machine when it is in its final resting place. You must put them back exactly the way you found them. In addition to taking photos, you can also buy sheets of colored sticky dots and put on each end of the cables so you know exactly where they go (red to red - 1 color of dots for each cable - if you run out of colors mark them with a letter or number). The Youtube video previously referenced shows how to disconnect these cables if you would like additional information.
3. Have Another Person Hold the Joystick/Control Panel
YOU WILL NOW START TO REMOVE THE JOYSTICK/CONTROL PANEL OF YOUR MACHINE. BEFORE BEGINNING TO REMOVE THE JOYSTICK/CONTROL PANEL, HAVE ANOTHER PERSON OR 2 HOLD THE JOYSTICK/CONTROL PANEL. THIS CANNOT BE OVERSTATED. THE JOYSTICK/CONTROL PANEL IS FRONT HEAVY AND CAN FALL OFF THE MACHINE IF SOMEONE IS NOT HOLDING IT UP.
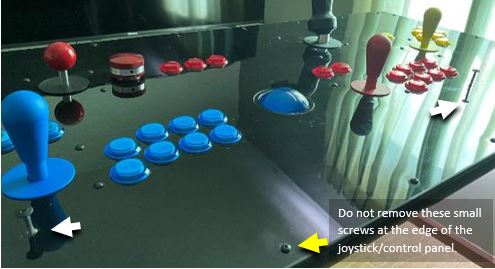
4. Remove Screws From the Joystick/Control Panel
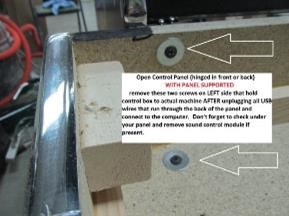
On the joystick/control panel, remove the 2, SILVER OR BLACK Phillip-head screws (2” long) that hold your joystick/control panel shut. See the white arrows on the photos below for a Pedestal. For an Upright machine they will be located toward the front of the joystick/control panel (towards the monitor) - see the blue arrows on the photo. Note: DO NOT remove the smaller screws along the perimeter/outside edge of the joystick/control panel (these hold the protective plexiglass in place that cover your joystick/control panel top – see the yellow arrow on the next photo).

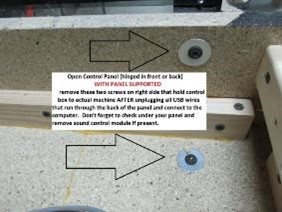
5. Lift Up the Hinged Joystick/Control Panel
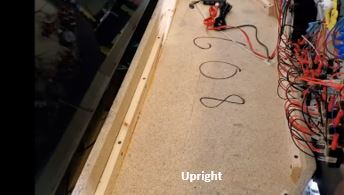
Lift up the joystick/control panel like the hood of your car (hinged in BACK on Pedestals – see photo; and in the FRONT on an Upright machine – see photo). Have a friend hold the joystick/control panel open so you can take out the 4-screws in the next step.
Pedestal Photo (hinged at the back)
Upright Photo (hinged at the front)
6. For Pedestals Only - Turn Joystick/Control Panel 90 Degrees or Remove Joystick/Control Panel
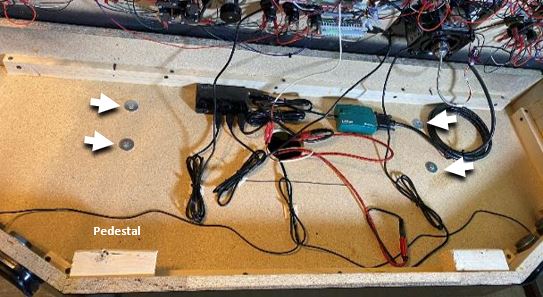
(Note: Pedestals can go through doors more easily than Uprights. You may have the option on a Pedestal to leave the wires connected in the machine and simply rotate the joystick/control panel 90-degrees to get through doors. In that case, you do not need to unplug the wires leading from the joystick/control panel to the main unit. If on the other hand, you need or want to completely remove the joystick/control panel from the main unit, you will need to unplug these wires). TO COMPLETEY REMOVE THE JOYSTICK/CONTROL PANEL FROM THE MAIN BOX ON YOUR PEDESTAL, UNPLUG THE 5 QUICK DISCONNECT CABLES BELOW – SEE PHOTO. THESE ARE QUICK RELEASE CABLES AND WILL COME APART EASILY). Take a photo to make sure you put these back correctly when the Pedestal is in its final resting place.

7. With Help, Remove the Screws that Hold the Joystick/Control Panel to the Main Cabinet
AFTER SOMEONE IS HOLDING THE JOYSTICK/CONTROL PANEL remove the 4-screws that hold the joystick/control panel to the main cabinet. This is straightforward on pedestals (see photo – see white arrows) but slightly more difficult on some Uprights (see photo and the Youtube video previously referenced). REMEMBER, BEFORE REMOVING THE LAST SCREW HAVE SOMEONE HOLD THE JOYSTICK/CONTROL PANEL SO IT DOES NOT FALL – DO NOT FORGOT THIS – OR THE JOYSTICK/CONTROL PANEL WILL FALL!
Upright - Upper Left Side of Joystick/Control Panel
Upright - Upper Right side of Joystick/Control Panel
8. Remove Joystick/Control Panel
With help from 2-3 friends remove the joystick/control panel from your machine (or rotate it 90 degrees for a pedestal if you did not unplug the wires).
9. Move Your Machine into its New Location
10. Carefully Reassemble the Machine.
The steps are:
- Put the 4-screws back in the joystick/control panel that hold it to the main box. Be careful not to pinch any wires as you screw the box unto the main panel;
- Carefully reconnect the quick disconnect cables, if you unplugged them;
- Close the joystick/control panel lid, again making sure not to pinch any wires;
- Reinstall the 2, 2” long silver of black Phillips-head screws that came out of the top of the joystick/control panel.
- Reinstall the Main Volume Control unit
NOTE: IT IS IMPORTANT TO MAKE SURE ALL OF YOUR CABLES ARE FULLY CONNECTED AND EXACTLY THE WAY THEY WERE WHEN YOU UNPLUGGED THEM.
11. Double Check All Parts Are Seated Tightly in Place
Finally, before plugging in your machine take the time to remove the back door (upright), open the rear door (table top/pedestal), or pull out the locked sliding drawer (cocktail table) and double check that all parts are seated tightly in place. As noted earlier, shipping is hard on the machines and things do come loose sometimes. HDMI, data and other cables should be double checked to make sure they are fully in place.
12. Plug in Machine and Turn On
Once your machine is in place, you are ready to plug it in and turn it on. Please see the Quick Start Guide for assistance.